Installing GREY WATER Tank Systems

We prefer to install a separate grey water tank for each feature in our van. While we keep our freshwater tanks inside the van we mount 3 tanks under the van. We do this for a few reasons:
Prevent backflow - No one wants sink water or toilet water from back flowing into your shower.
Shorter connections - More tanks means you can mount each tank directly under the feature it is servicing. This means faster draining.
FAQ’s
How often do you empty your tanks?
As often as possible. It’s best not to let dirty water sit in your tanks. I tried to empty our tanks every other day.
Where do you dump your tank?
Rv Dump Stations are your first option and only option if you have blackwater tanks. We define blackwater as anything containing human feces. Dump responsibly. Understand if you are in a sensitive watershed and do not dump if so. Off grid dumping is easy. Storm drains work well for tank containing water, biodegradable tank treatment or soaps etc.
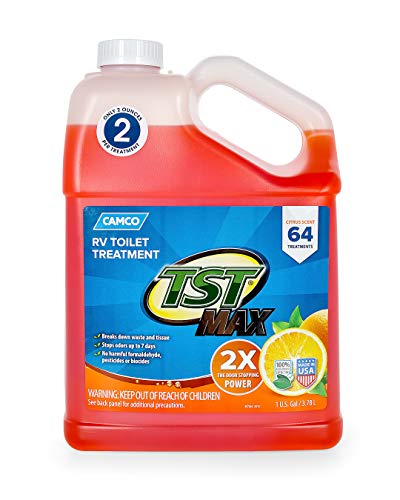
How do you prevent tanks from smelling?
Use a Biodegradable tank treatment. We pour 2 cups into toilet tank after emptying along with 1/2 gallon of water.
What maintenance is required?
Flush tanks with hot water once a month, especially a toilet tank. Replace toilet tanks annually and other tanks every 18-24 months.
Tank Sizes
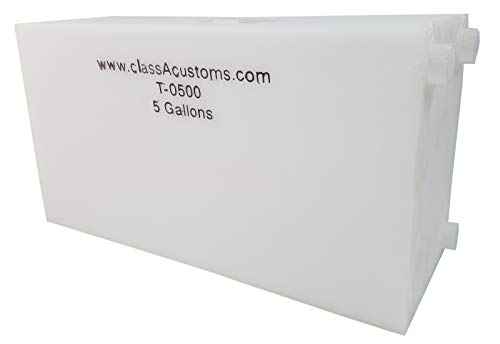
Sink & Urine Diverting Toilet Tank
This 5 gallon tank provides plenty of holding ability for multiple days of use. This size also fits nicely mounted under the sprinter van.
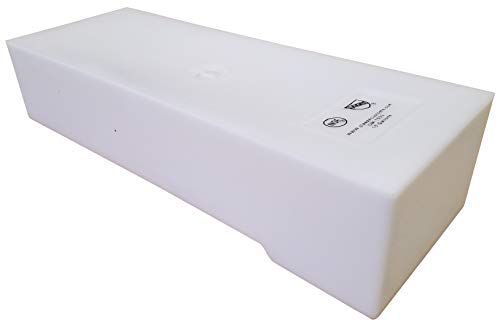
Shower Tank
This 15 gallon tank also fits nicely under a sprinter van and works well mounting directly under the shower drain. Simply drill a hole into the top of the tank large enough for your shower drain pipe to clear and mount directly under the shower.
Installing tank fittings
Determine placement of your tank based on location of drains. Determine if you will be running drains into the tank via fitting or directly through the top of the tank. I like to run drain lines directly into the tank. For the toilet it may be best to drain into the tank via the 1 1/2” threaded fitting to help prevent odor backflow through the toilet.
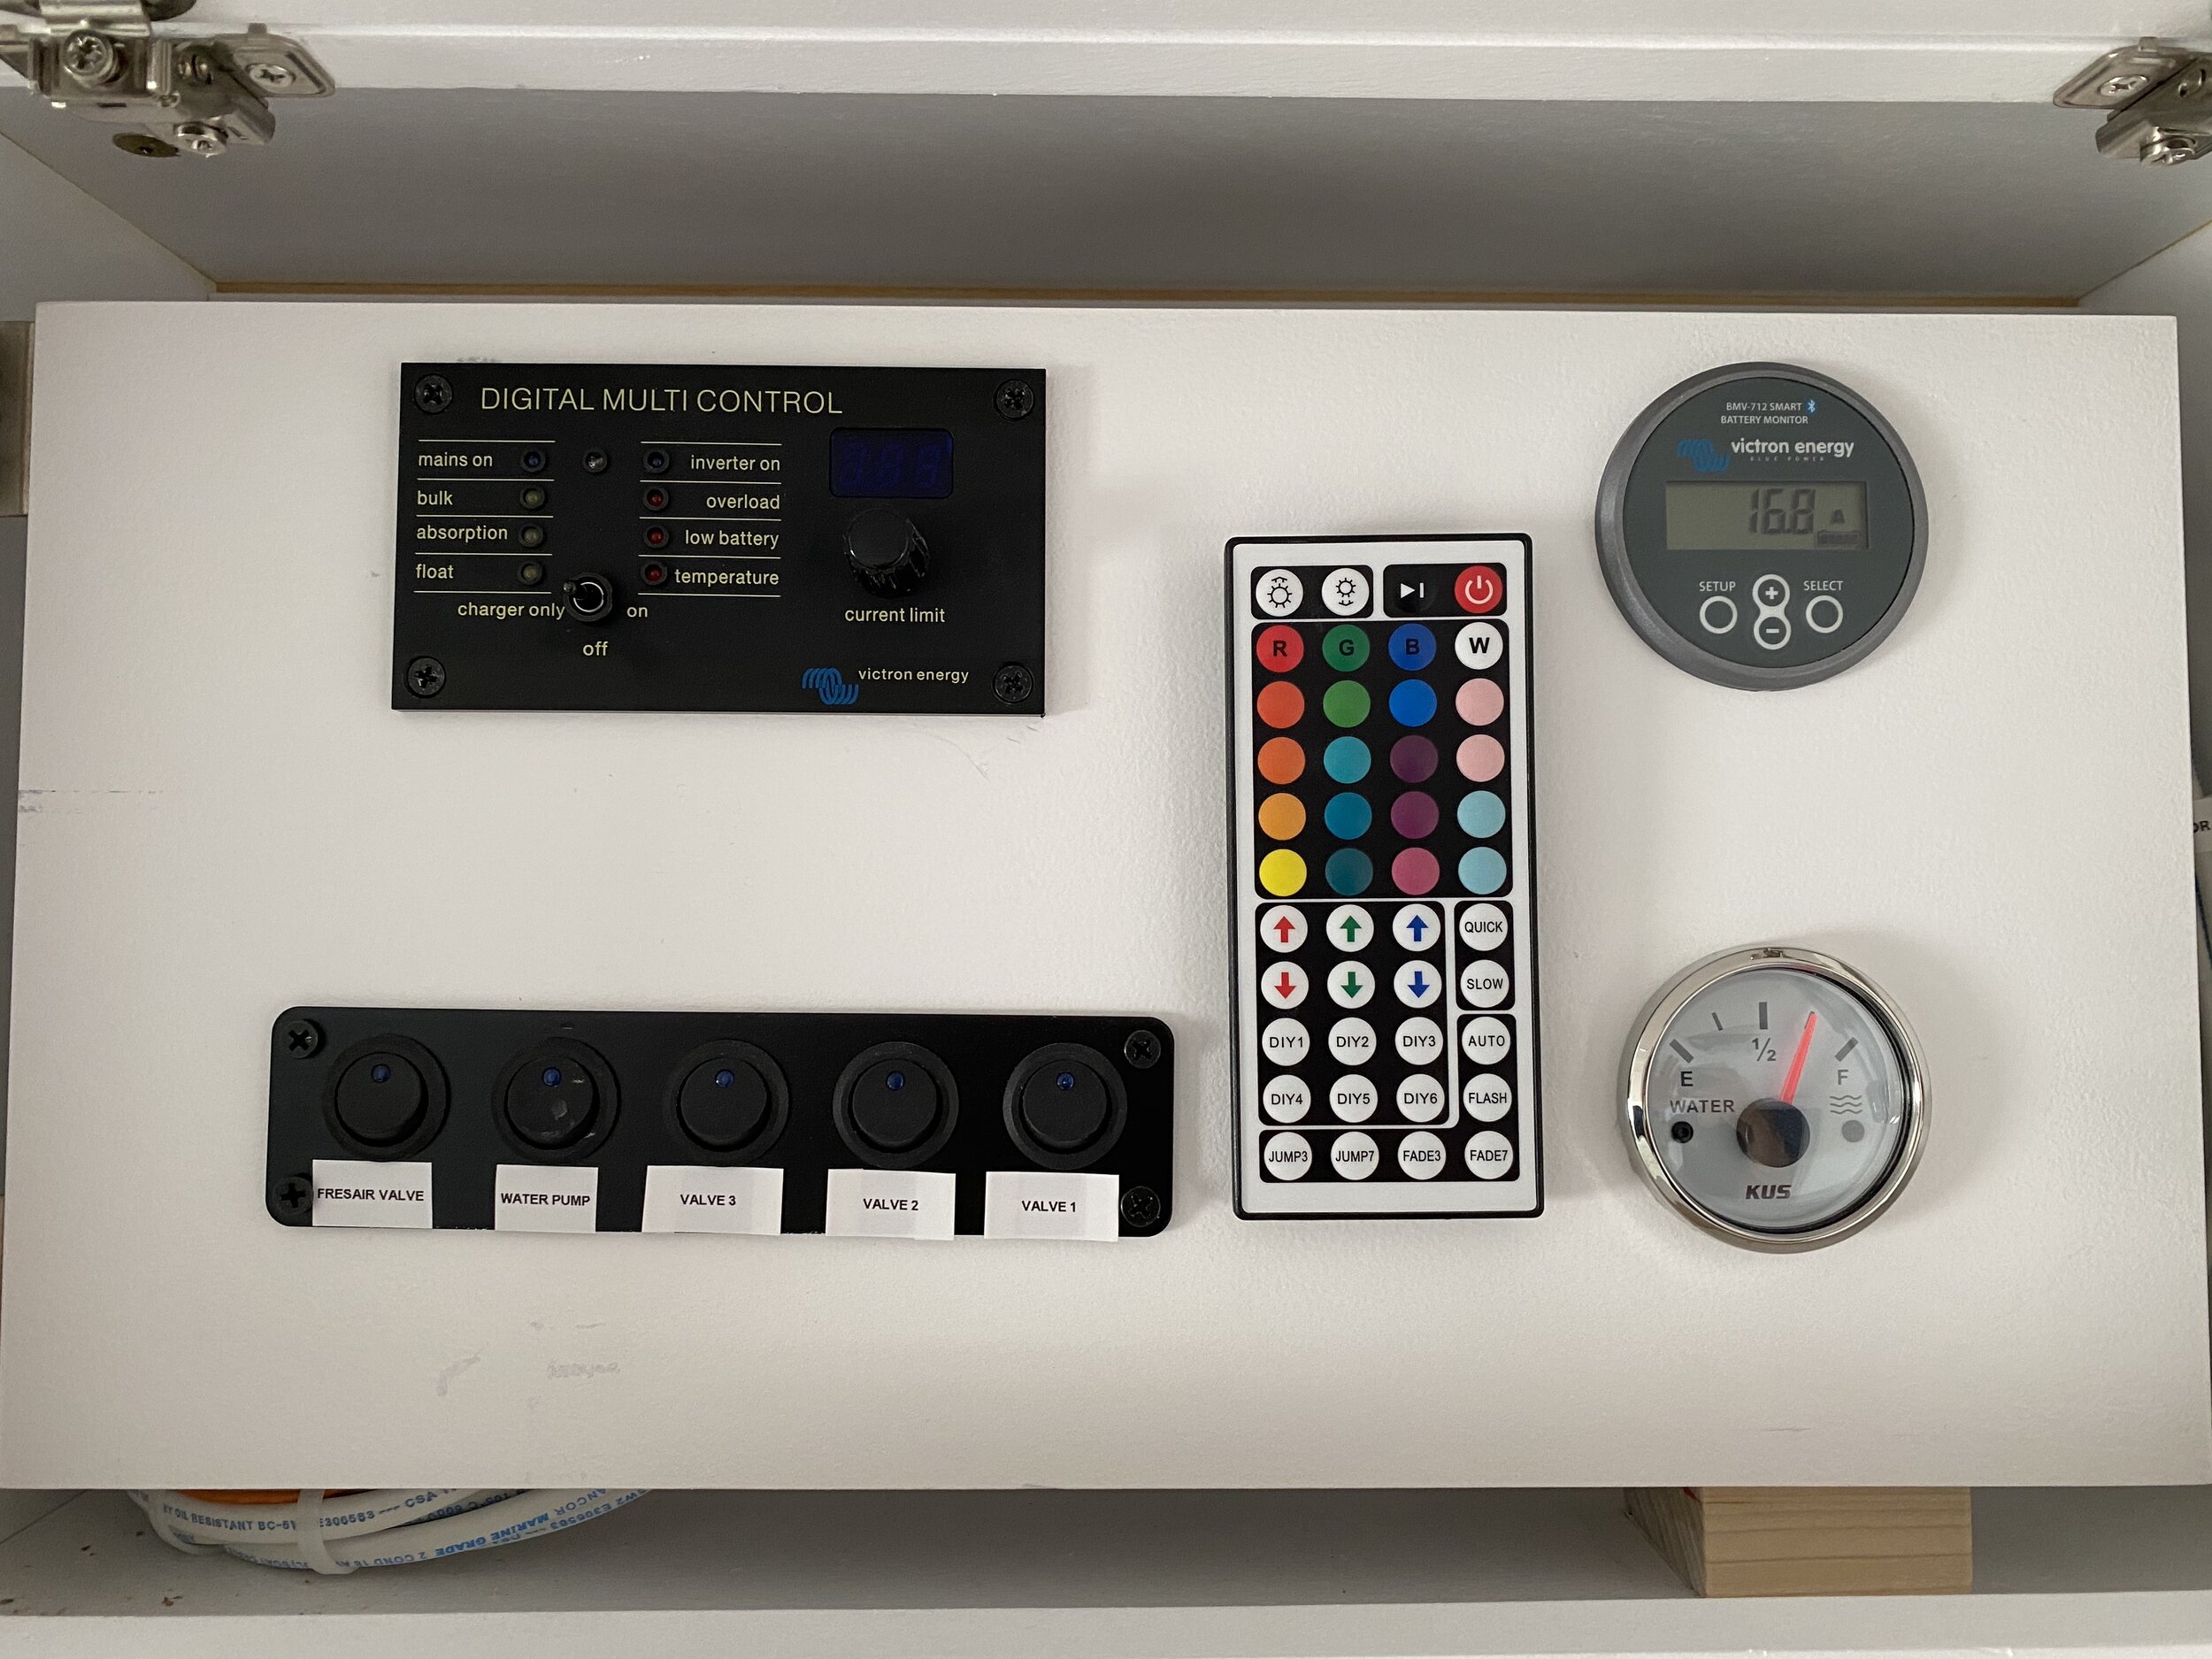
Once you have established the orientation of the tanks identify which fittings will be used. You will need to use a 1/2” threaded fitting at the bottom to add the 12v ball valve using a 1/2” MPT nipple.
If second 1/2” threaded fitting is at the bottom us a 1/2” threaded plug to close.
Use a threaded elbow on a top fitting for a vent. See photo below.

Tank with drain directly through top of the tank
Bottom Left: 1/2” fitting with 12v Ball valve
Bottom Right: 1 1/2'“ closed fitting
Top left: 1/2” plug in 1/2” fitting
Top Right: 1/2” MPT x 1/2” Barb Elbow (Tank Vent)
Tank Installation
Find mounting locations for steel strapping. Cut steel strapping and attach one end to the van using 2 self tapping hex head screws per strap.
Once one end of each strap is mounted, put tank into place and mount the other end of the strapping using 2 self tapping hex head screws per strap.
INSTALLATION TIP: Mount tanks so that all drains are on the same side of the van. This way you can park at an angle to drain tanks completely and more quickly.
5 gallon tank mounted just rear of sliding door on passenger side for sink drain.

Toilet sink mounted under Sprinter on Driver’s Side behind the shower tank.

15 Gallon Tank mounted for shower drain on driver side of mercedes sprinter.

Sink tank mounted under kitchen on passenger side of Sprinter Van.
Electrical
You will need to run 1, 18AWG wire for each ball valve placed under the van.
Connect 12v ball valve control wires to 18 awg wires running to fuse block.
Use heat shrink butt connectors and wrap with electrical tape.
Inside the van, connect wires to 12v switch panel and label.